Importing Pools
Describes how to import storage pools on FreeCORE.
Note
This procedure only applies to disks with a ZFS storage pool. To import disks with different file systems, see Import Disk.
ZFS pool importing works for pools that were exported or disconnected from the current system, created on another system, and pools to reconnect after reinstalling or upgrading the FreeCORE system. To import a pool, go to Storage > Pools > ADD.
There are two kinds of pool imports, standard ZFS pool imports and ZFS pools with legacy GELI encryption.
Pool Import Options
Standard ZFS Pool
Standard ZFS Pools
Select Import Existing Pool and click NEXT.
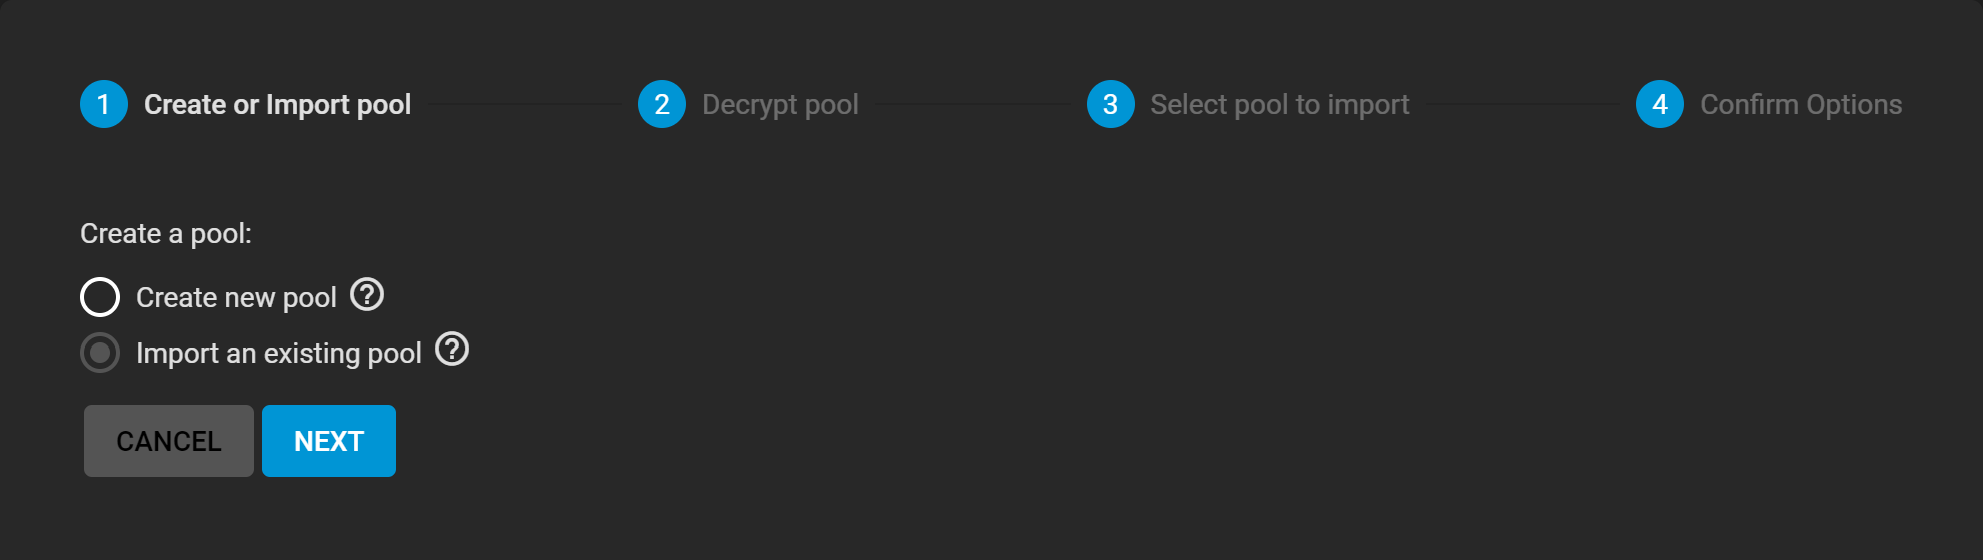
The wizard asks if the pool has legacy GELI encryption.
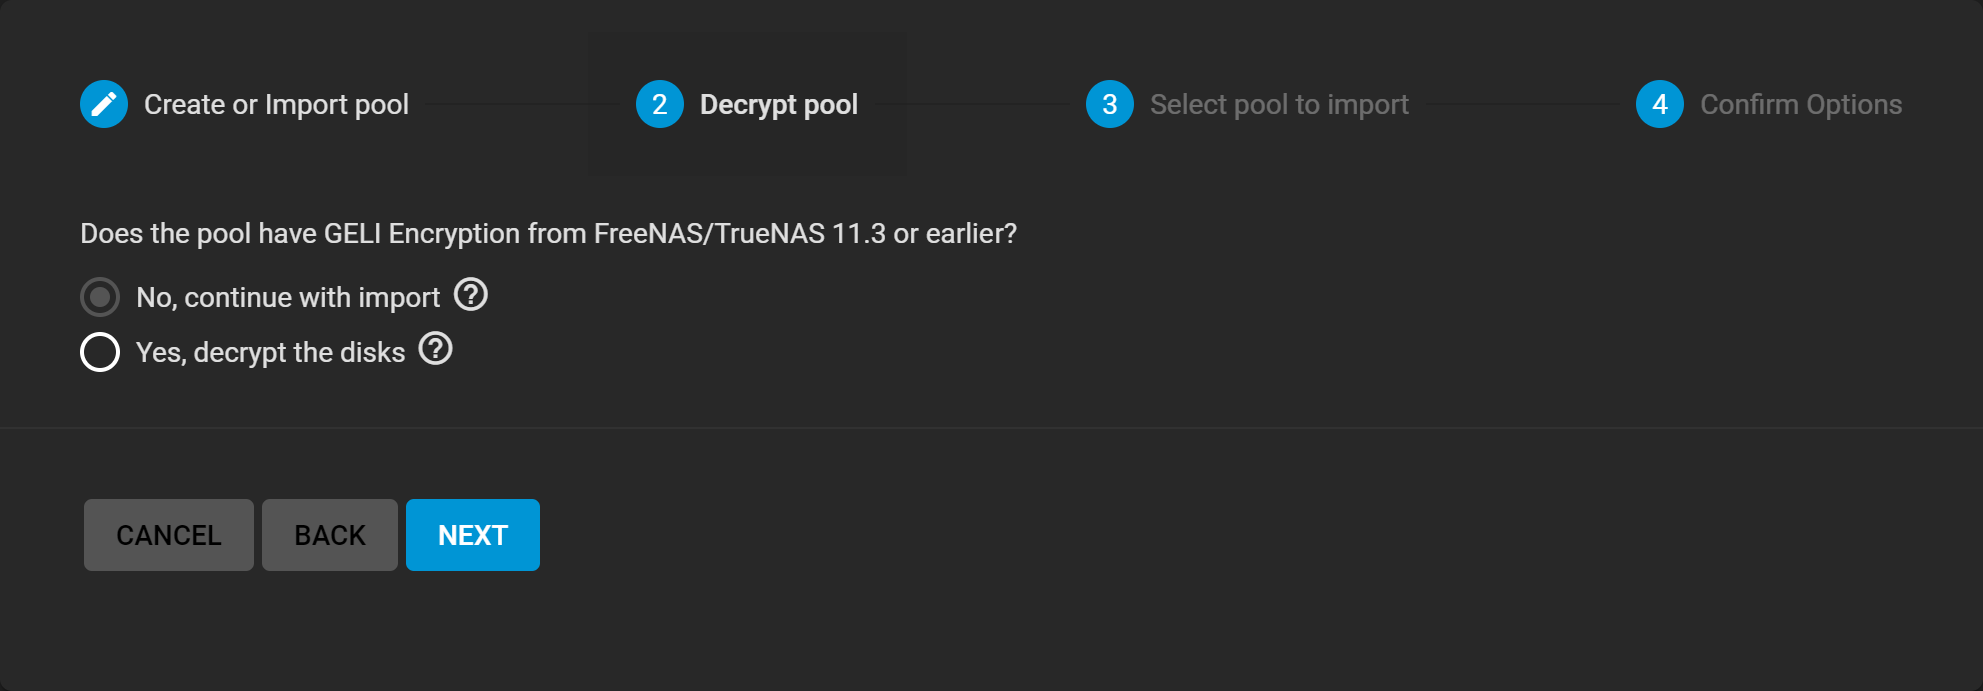
Select No, continue with import and click NEXT.
FreeCORE detects any pools that are present but unconnected.
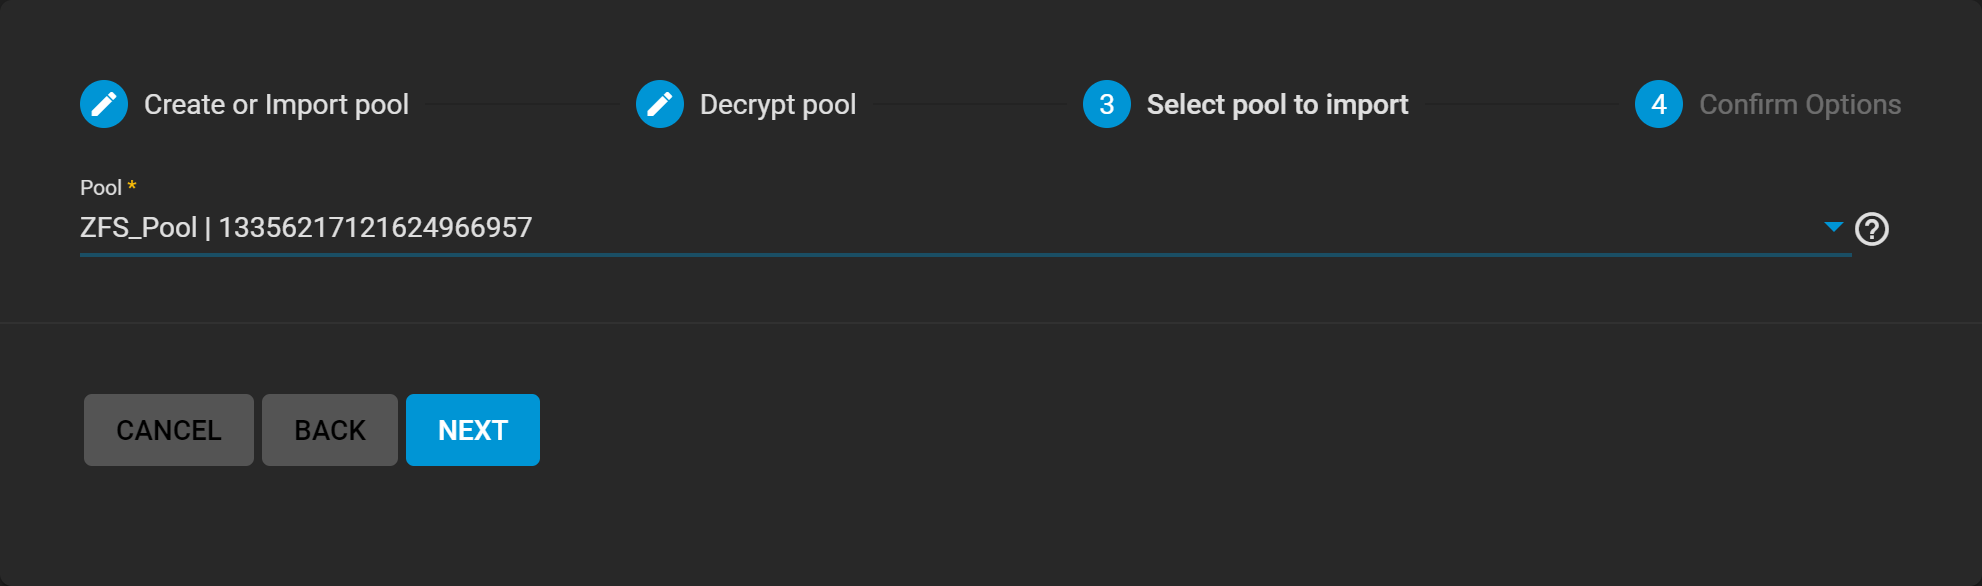
Choose the ZFS pool to import and click NEXT.
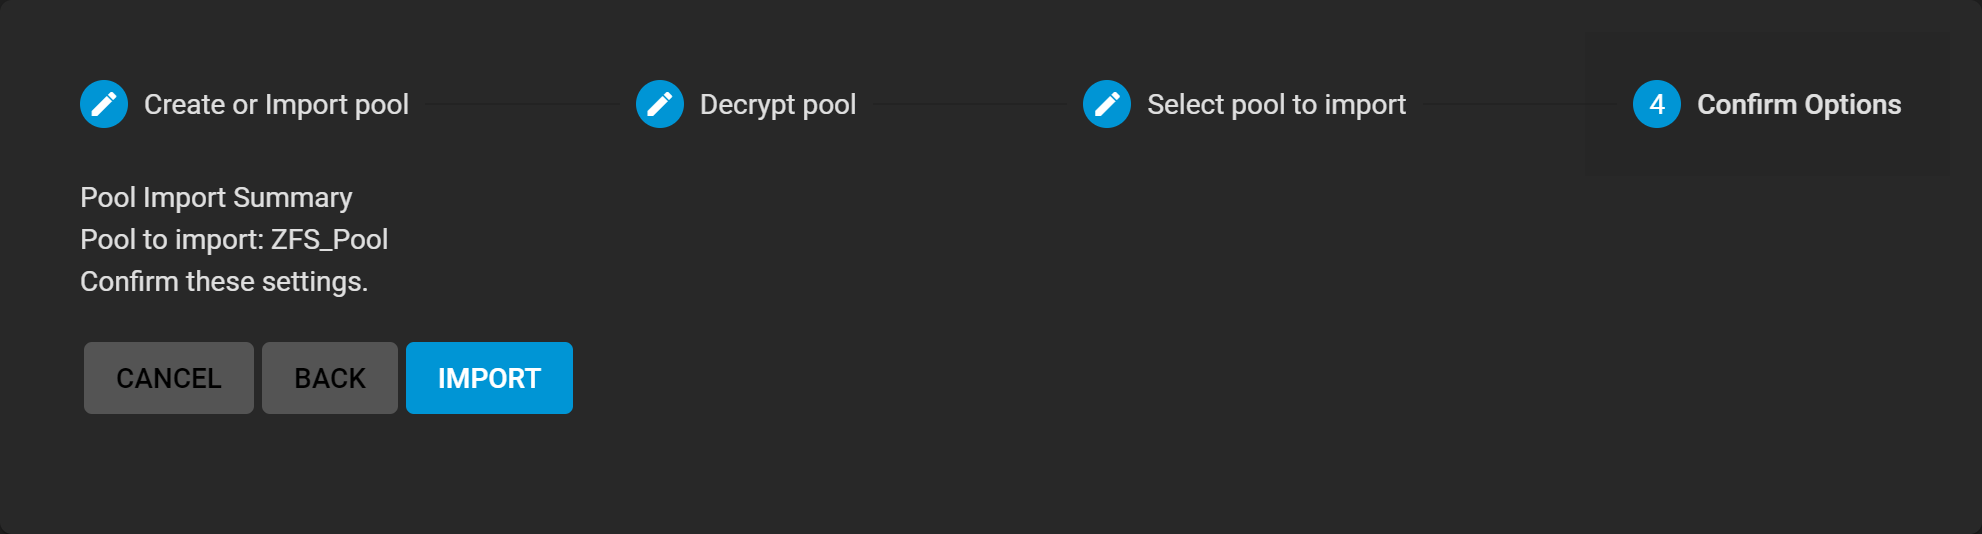
Review the Pool Import Summary and click IMPORT.
ZFS Pool with GELI
Encrypted GELI Pools
Warning
Importing a GELI-encrypted pool requires using the encryption key file and passphrase to decrypt the pool before importing. When a pool cannot be decrypted, it cannot be re-imported after a failed upgrade or lost configuration, and the data is irretrievable! Always have a copy of the pool GELI key file and passphrase available.
Select Import Existing Pool and click NEXT.
The wizard asks if the pool has legacy GELI encryption. Select Yes, decrypt the disks and review the decryption options.
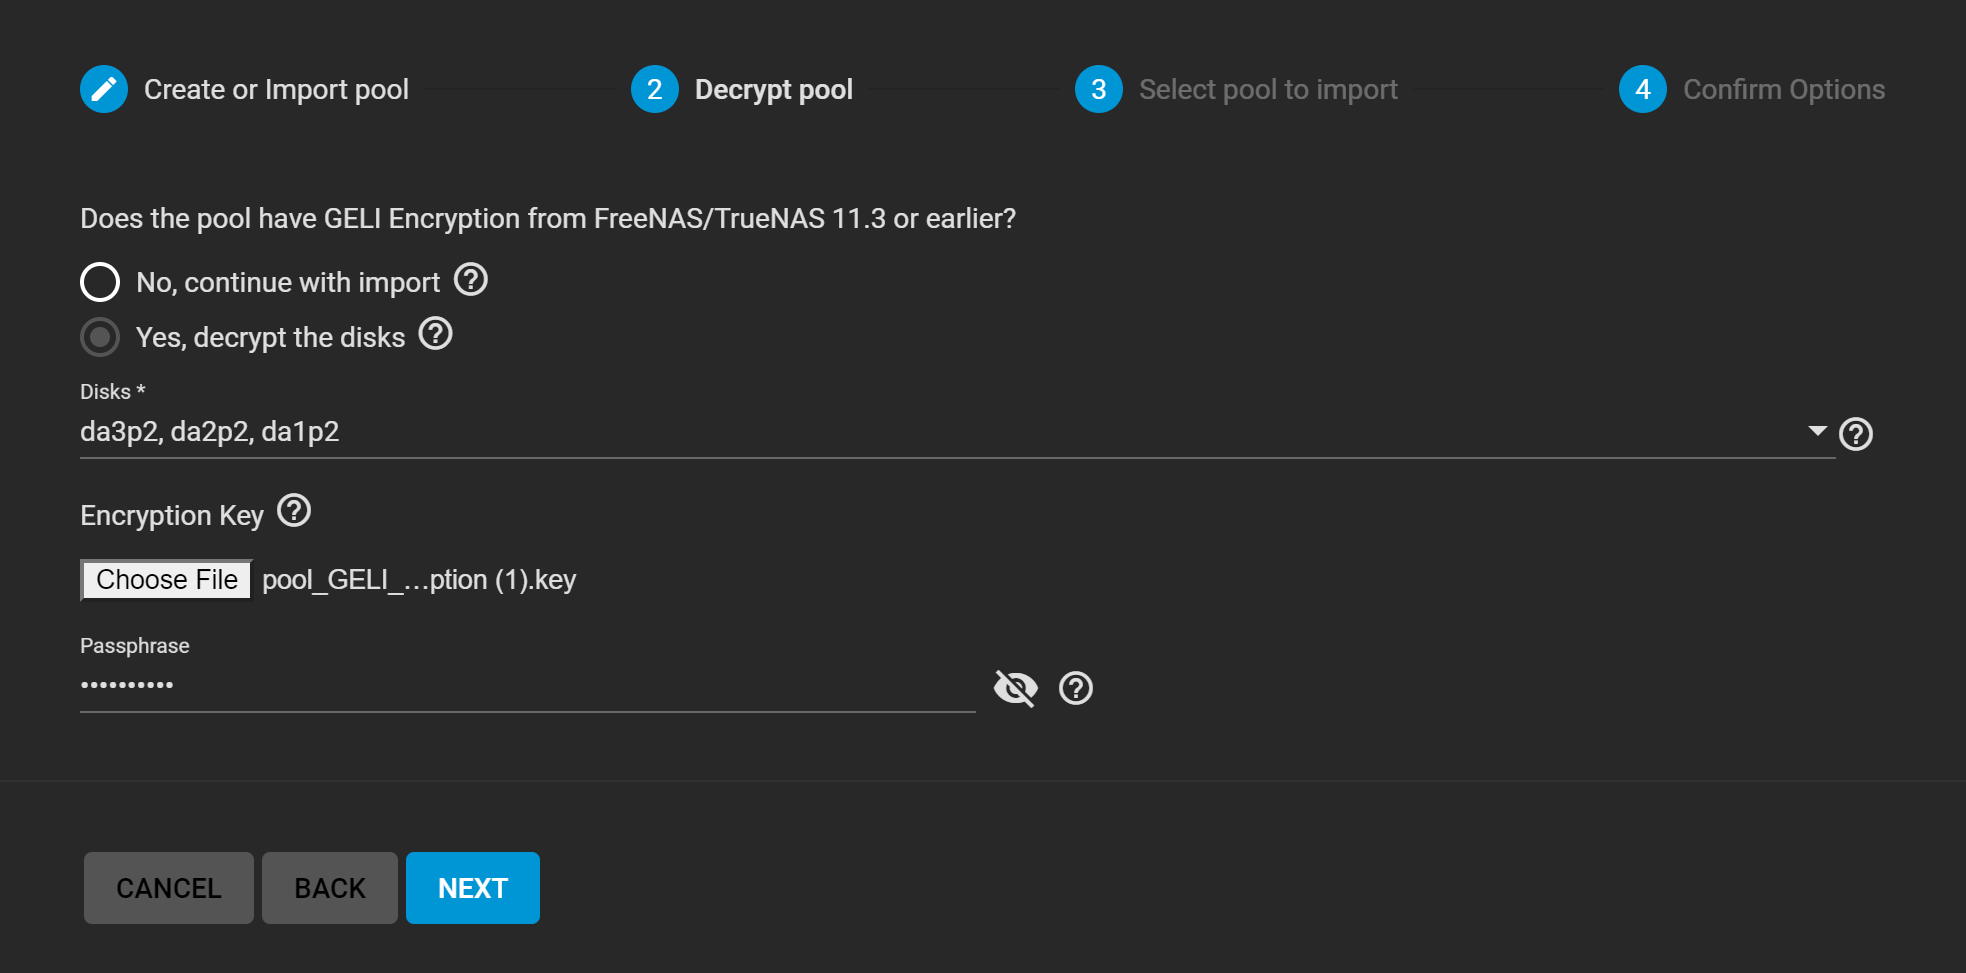
Make sure the Disks selection shows the encrypted disks and partitions that are part of the incoming pool. Apply the GELI encryption key file by clicking Choose File and uploading the file from your local system.
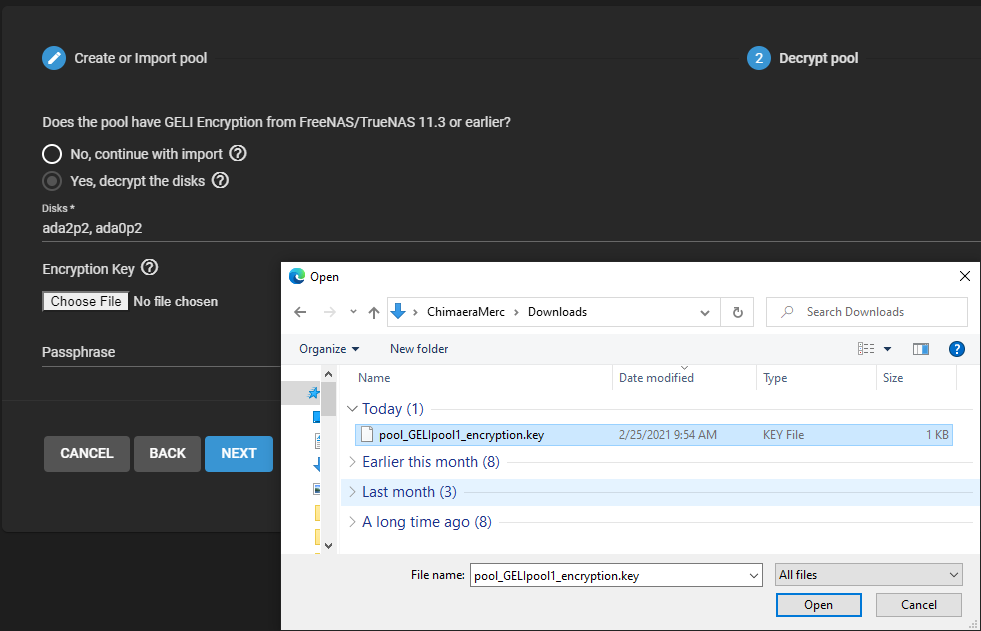
When a passphrase is also present, enter it in Passphrase. Click Next and wait for the disks to decrypt.
When the disks are decrypted, select the GELI pool to import.
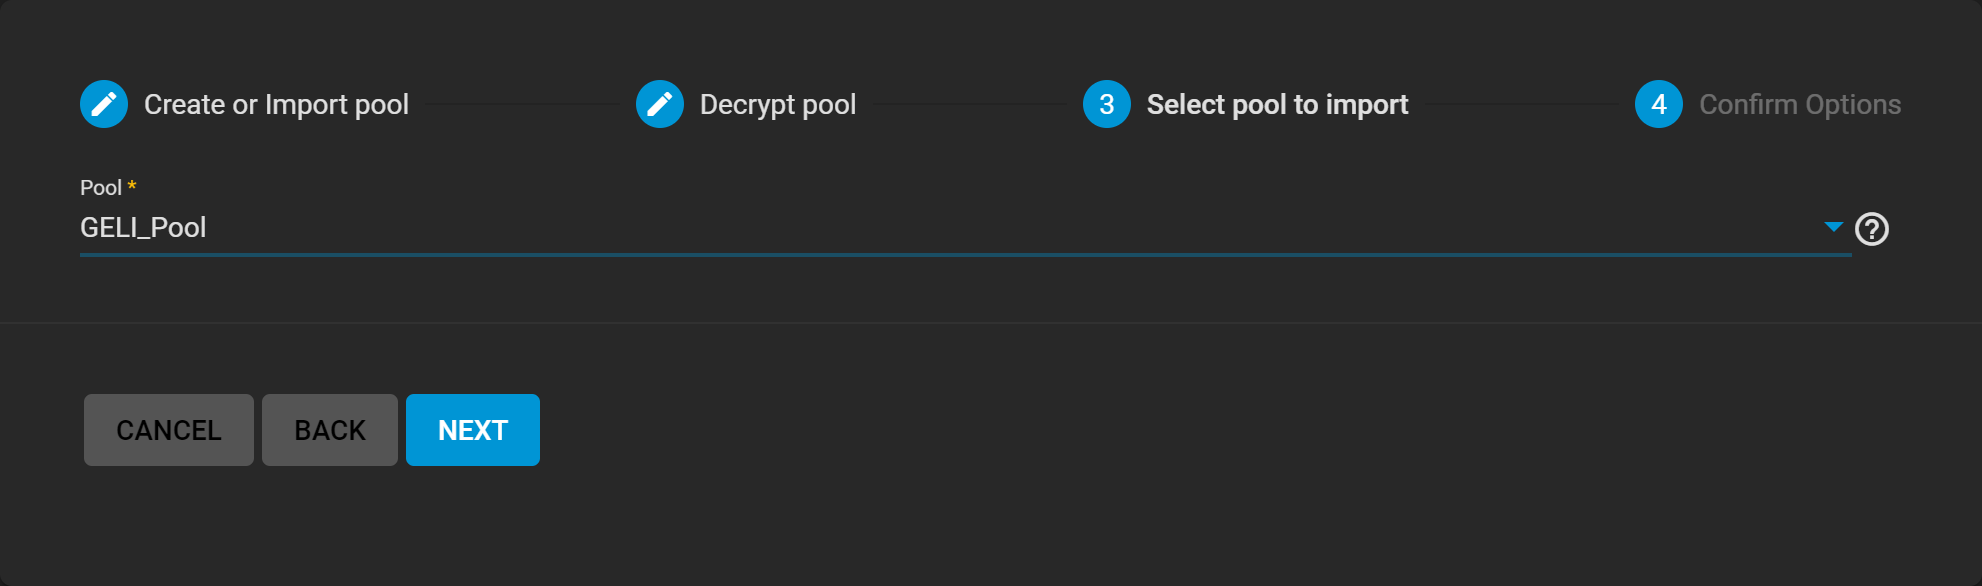
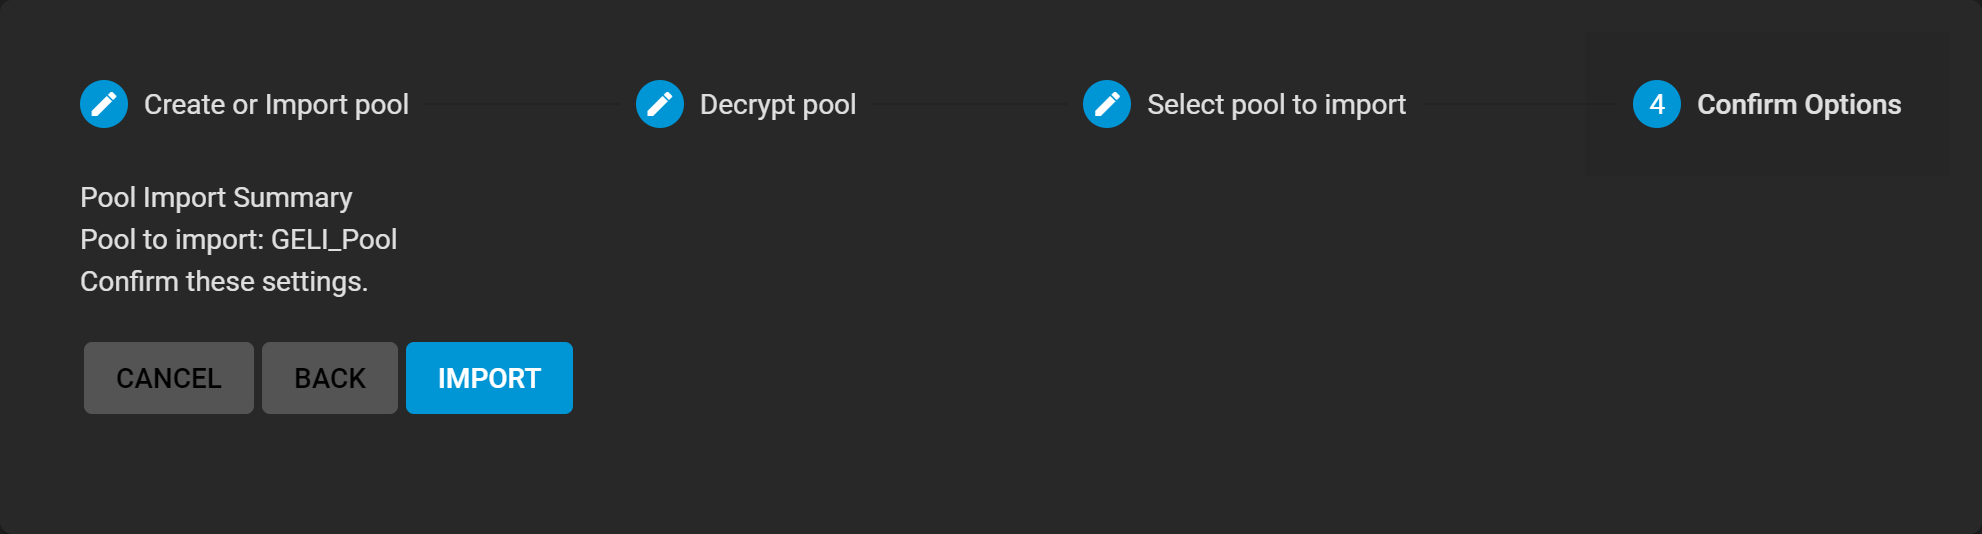
Review the Pool Import Summary and click IMPORT.
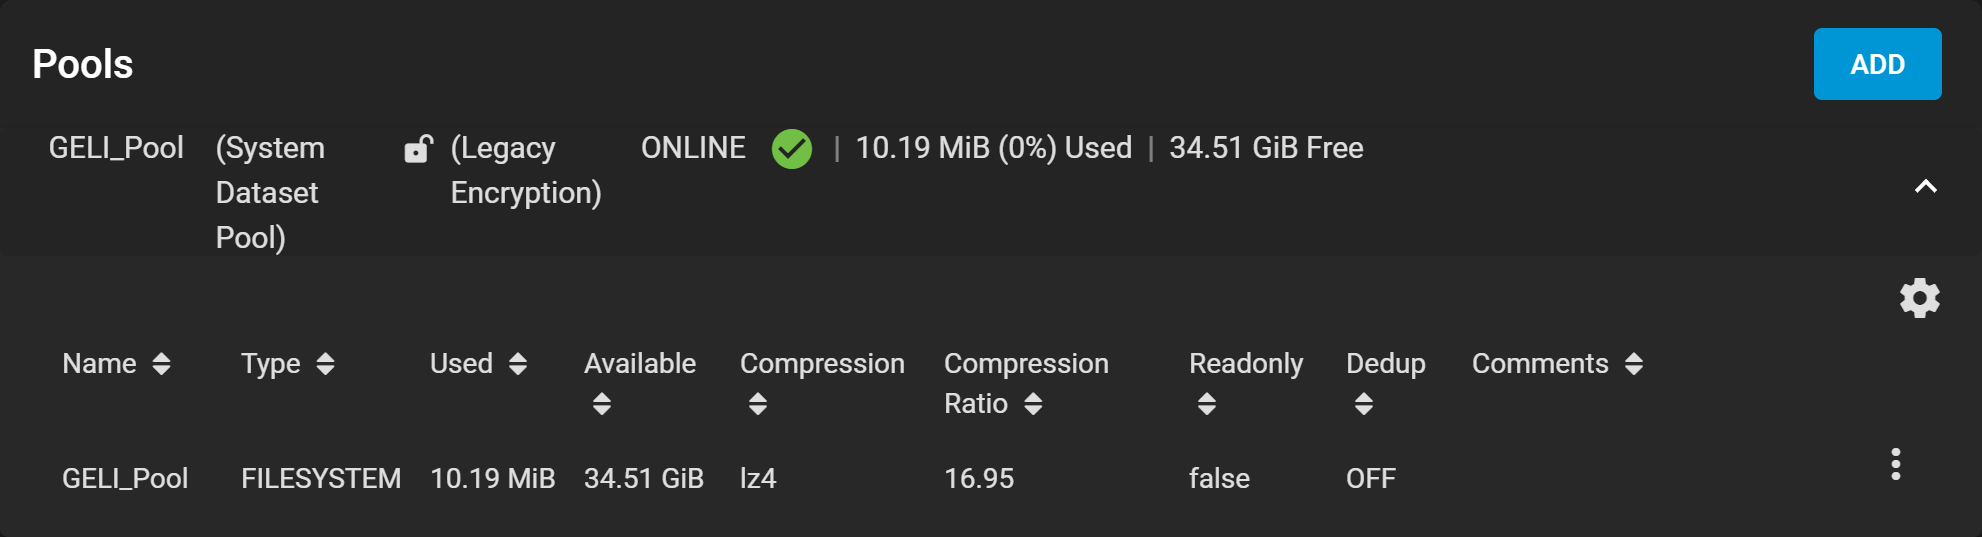
GELI encrypted pools show in Storage > Pools as (Legacy Encryption).
Back Up the Pool Key
For security reasons, encrypted pool keys do not save to a configuration backup file. When FreeCORE is installed to a new device and restored with a saved configuration file, keys for encrypted disks are not present and the system does not request them.
To correct this, export the encrypted pool in Storage > Pools with Settings > Export/Disconnect.
Warning
Do not select Destroy data on this pool?.
Now import the pool again. During the import, add the encryption keys as described previously.