Basic VM Management
Describes how to create a Virtual Machine in FreeCORE.
FreeCORE 15.1 requires UEFI. Existing GRUB and UEFI-CSM VMs cannot run or be edited on 15.1; review VM Firmware before upgrading. The shared wizard below is illustrated with the FreeCORE 15.0 interface.
Note
FreeCORE 15.0 maintains jails, plugins, and bhyve virtual machines. FreeCORE 15.1 adds Applications and Bastille and retires the plugin store. See Plugins, Jails and Applications and VM Firmware for compatibility guidance.
A Virtual Machine (VM) is an environment on a host computer that can be used as if it were a separate physical computer. VMs can be used to run multiple operating systems simultaneously on a single computer. Operating systems running inside a VM see emulated virtual hardware rather than the actual hardware of the host computer. This provides more isolation than Jails, but a VM consumes more system resources.
Creating a Virtual Machine
Before creating the virtual machine, you need an installer .iso or image file for the operating system you intend to install and a storage pool available for both the virtual disk and operating system install file.
To create a new VM, go to Virtual Machines and click Add. Configure each category of the VM according to your specifications, starting with the Operating System.
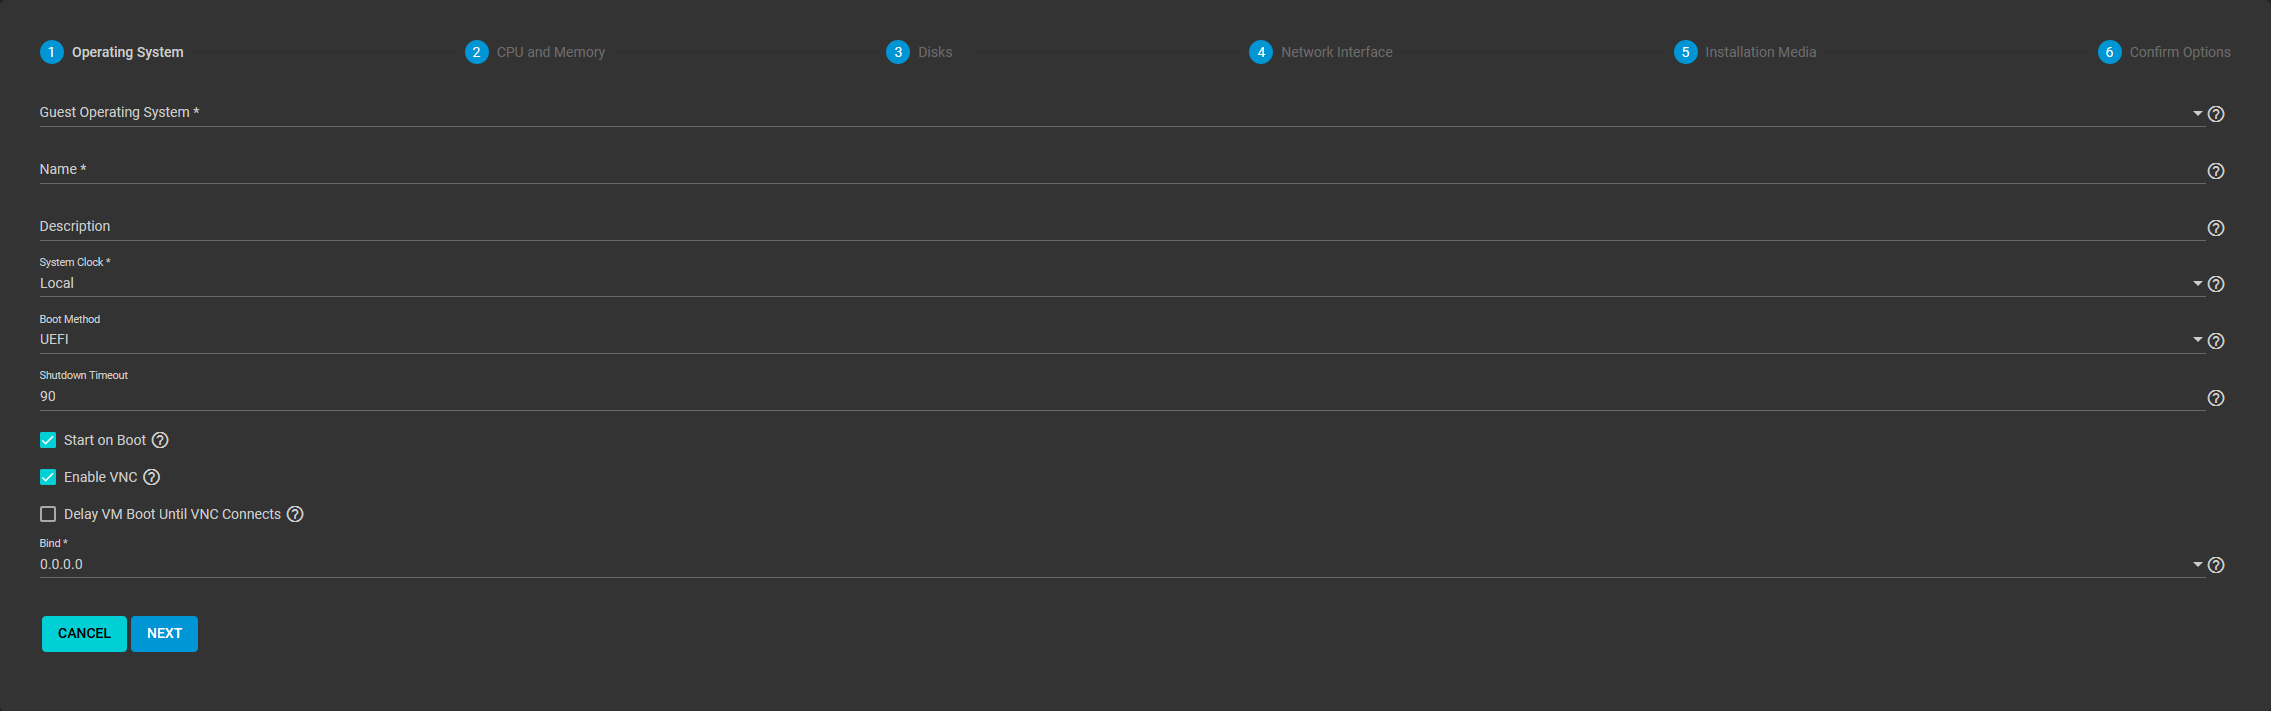
For information on the Wizard screens and settings see Virtual Machines
Additional notes:
- On 15.0, the Grub boot method is not supported by Windows guests. On 15.1, only UEFI is supported.
- Compare the recommended specifications for your guest operating system with the available host system resources when allocating values in Virtual CPUs, Cores, Threads, and Memory Size.
- Avoid allocating too much memory to a VM. Activating a VM that has all available memory allocated to it can slow the host system or prevent other VMs from starting.
- AHCI is the recommended disk type for Windows VMs.
- On 15.1, NVMe is a third disk mode: it emulates an NVM Express controller, which every current operating system installer has a driver for. A Disk sector size set on the disk under Devices applies to NVMe as it does to the other modes.
- VirtIO as network interface requires that the chosen guest operating system support VirtIO paravirtualized network drivers.
Adding and Removing Devices
After creating the VM, you can add and remove virtual devices by expanding the VM entry in Virtual Machines and clicking the Devices Devices option.

Device notes:
- The virtual machine attempts to boot from devices according to the the Device Order setting, starting with 1000, then ascending.
- The CD-ROM device option allows booting a VM from a CD-ROM image like an installation CD. The CD image must be available in the system storage.
- On 15.1, the Shared Directory (virtio-9p) device mounts a directory of this system inside the guest under a tag you choose. The Source Directory must be an existing directory in a pool under
/mnt/. The Mount Tag uses up to 32 letters, digits, underscores, periods or hyphens, begins with a letter or digit, and is unique within the VM. On a FreeBSD guest with p9fs(4), loadvirtio_p9fsand runmount -t p9fs <tag> /mnt; on Linux, runmount -t 9p -o trans=virtio <tag> /mnt. Select Read-only when the guest must not write to it. - NVMe disks and shared directories are available to bhyve guests only, not to emulated (non-amd64) guests.
Managing the Virtual Machine
After creating the VM and configuring any devices for it, manage the VM by expanding its entry in Virtual Machines.
Options for VNC or Serial connections are available after activating the VM. If the VNC connection screen appears garbled, try adjusting the VNC device resolution.
Using the State toggle or clicking Stop Button follows a standard shut down procedure to do a clean shut down the running VM. Clicking Power Off Button immediately halts and deactivates the VM, similar to unplugging a computer.
Note
If the VM you created has no guest OS installed, the VM State toggle and Stop Button button might not function as expected. These buttons try to send an ACPI power-down command to the VM operating system, but since no OS is installed, the commands time out. Use the POWER OFF button instead.