NFS Share Creation
Provides information on how to create a Network File Share (NFS) on your FreeCORE.
Creating a Network File System (NFS) share on FreeCORE makes a lot of data available for anyone with share access. Depending on the share configuration, it can restrict users to read or write privileges.
Note
NFS treats each dataset as its own file system. When creating the NFS share on the server, the specified dataset is the location that client accesses. If you choose a parent dataset as the NFS file share location, the client cannot access any nested or child datasets beneath the parent.
If you need to create shares that include child datasets, SMB sharing is an option. Note that Windows NFS Client versions currently support only NFSv2 and NFSv3.
Adding an NFS Share Dataset
Before creating an NFS share, create the dataset you want the share to use for data storage.
Important
It is best practice to use a dataset instead of a full pool for SMB and/or NFS shares. Sharing an entire pool makes it more difficult to later restrict access if needed.
We recommend creating a new dataset with the Share Type set to Generic for the new NFS share.
Creating an NFS Share
Go to Sharing > Unix Shares (NFS) and click ADD.
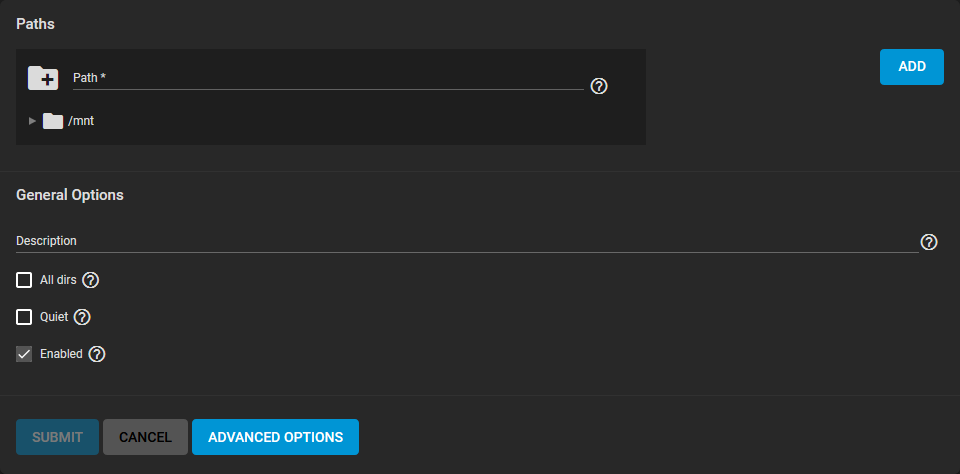
Use the file browser to select the dataset to share. Enter an optional Description to help identify the share. Clicking SUBMIT creates the share. There is the option to select ENABLE SERVICE while creating the share to start the service. With this option selected, the service starts automatically after any reboots.
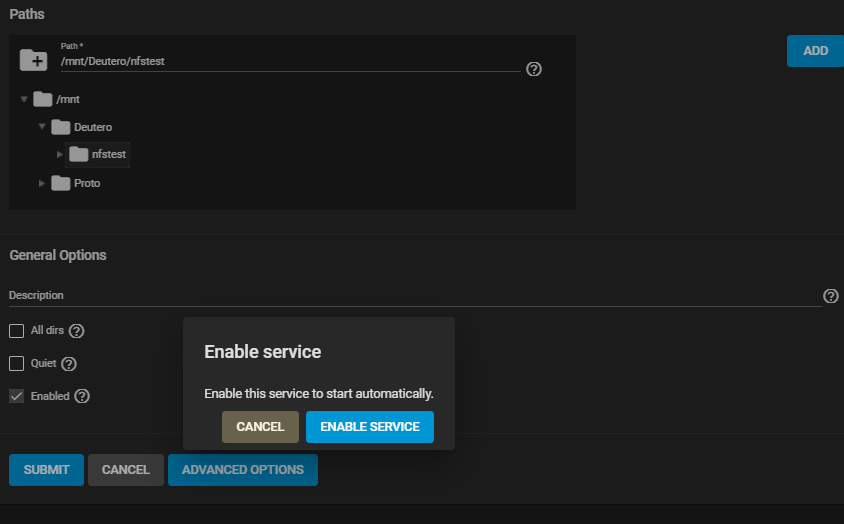
If you wish to create the share but not immediately enable it, select CANCEL.
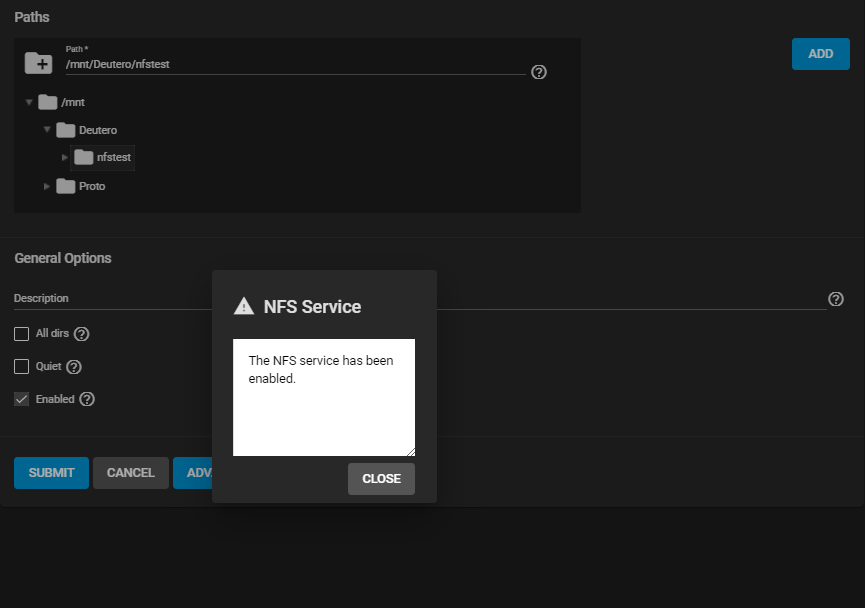
NFS Share Settings
See Sharing NFS Screen for more information on NFS share settings.
To edit an existing NFS share, go to Sharing > Unix Shares (NFS) and click Options > Edit. The options available are identical to the share creation options.
Configure the NFS Service
To begin sharing the data, go to Services and click the NFS toggle. If you want NFS sharing to activate immediately after FreeCORE boots, set Start Automatically.
NFS service settings can be configured by clicking (Configure). See NFS Screen for details.
Unless a specific setting is needed, we recommend using the default settings for the NFS service. When FreeCORE is already connected to Active Directory, setting NFSv4 and Require Kerberos for NFSv4 also requires a kerberos keytab.
Connecting to the NFS Share with a Linux/Unix OS
The NFS share connects with various operating systems.
The recommendation is to use a Linux/Unix operating system.
Using a Linux/Unix operating system, download the nfs-common kernel module.
Do this using the package manager of the installed distribution.
For example, on Ubuntu/Debian, enter sudo apt-get install nfs-common in the terminal.
After installing the module, connect to an NFS share by entering sudo mount -t nfs {system-IP}:{path/to/nfsShare} {localMountPoint}, where {system-IP} is the IP address of the remote FreeCORE system that contains the NFS share, {path/to/nfsShare} is the path to the NFS share on the FreeCORE system, and {localMountPoint} is a local directory on the host system configured for the mounted NFS share.
For example, sudo mount -t nfs 10.239.15.110:/mnt/pool1/photoDataset /mnt mounts the NFS share photoDataset to the local directory /mnt.
By default, anyone that connects to the NFS share only has the read permission. To change the default permissions, edit the share. Go to Advanced Options and change the Access settings.
Important
ESXI 6.7 or later is required for read/write functionality with NFSv4 shares.