IPMI Screen
Describes the fields on the IPMI screen in FreeCORE.
Use the Network > IPMI screen to configure the FreeCORE for an IPMI connection. The IPMI configuration screen provides a shortcut to the most basic IPMI configuration.
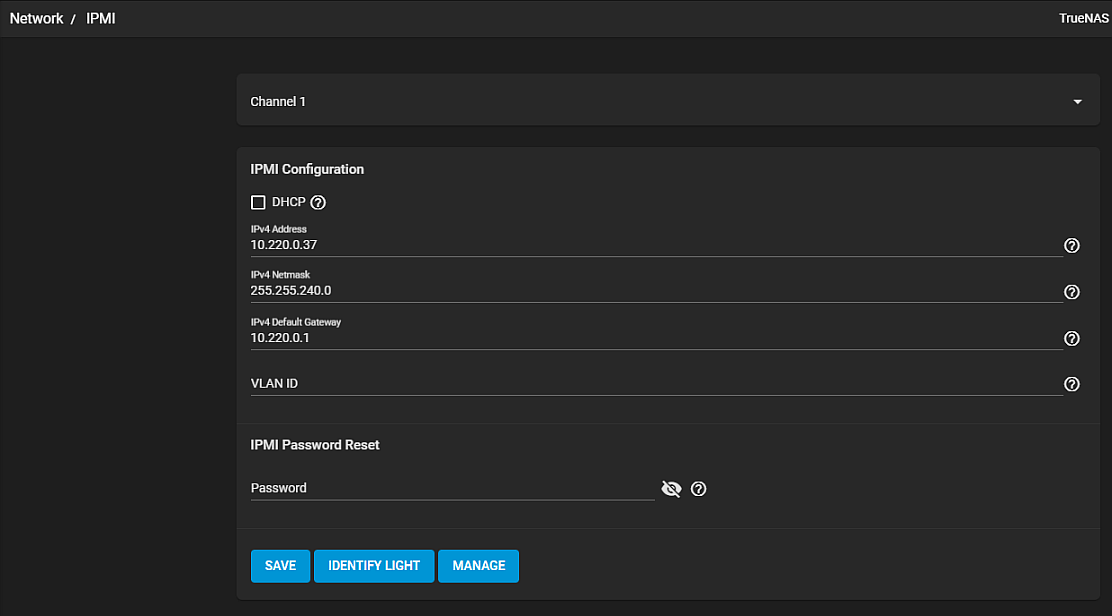
| Setting | Description |
|---|---|
| Channel | Select the communications channel to use from the dropdown list. Available channel numbers vary by hardware. |
| Password | Enter a password for connecting to the IPMI interface from a web browser. The password must include at least one upper case letter, one lower case letter, one digit, and one special character (punctuation, e.g. ! # $ %, etc.). It must also be 8-16 characters long. |
| DHCP | Select to use DHCP to set the IPv4 Address, IPv4 Netmask, and Ipv4 Default Gateway. If checkbox is clear you must manually enter these settings. |
| IPv4 Address | Enter the static IP address of the IPMI web interface. This is the address FreeCORE connects to when you click the MANAGE button. |
| IPv4 Netmask | Enter the subnet mask associated with the IP address. |
| IPv4 Default Gateway | Enter the default gateway of the IPv4 connection. This is associated with the IP address. |
| VLAN ID | Enter the VLAN identifier if the IPMI out-of-band management interface is not on the same VLAN as management networking. |
| IDENTIFY LIGHT | Displays a dialog to activate an IPMI identify light on the compatible connected hardware. |
| MANAGE | Connects the FreeCORE to the IPMI web interface login screen. |
Use SAVE to save the IPMI settings.
See IPMI for more information.