Describes how the logging in process works on FreeCORE.
Now that FreeCORE is installed, it's time to log in to the web interface and begin managing data!
Can I configure FreeCORE using a CLI?
After installing FreeCORE, configuring and using the system is all managed through the web interface.
It is important to only use the web interface to make configuration changes to the system.
By default, using the command-line interface (CLI) to modify the system does not modify the settings database.
Any changes made in the command line are lost and reverted to the original database settings whenever the system restarts.
FreeCORE automatically creates a number of ways to access the web interface, but you might need to adjust the default settings to better fit the system in your network environment.
Web Interface Access
By default, FreeCORE provides a default address for logging in to the web interface.
To view the web interface IP address or reconfigure web interface access, you will need to connect a monitor and keyboard to your FreeCORE system or connect with IPMI for out-of-band system management.
Default Access
When powering on a FreeCORE system, the system attempts to connect to a DHCP server from all live interfaces and provide access to the web interface.
On networks that support Multicast Domain Name Services (mDNS), a hostname and domain can be used to access the FreeCORE web interface.
By default, FreeCORE is configured to use the hostname and domain freecore.local
You can change this after logging in to the web interface by going to Network > Global Configuration and setting a new Hostname and Domain.
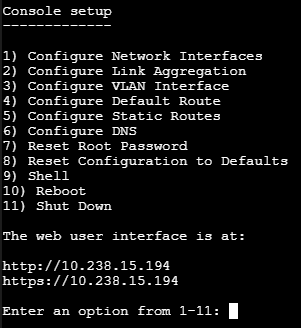
If an IP address is needed, connect a monitor to the FreeCORE system and view the console setup menu that displays at the end of the boot process.
Figure 1: FreeCORE Console Menu
When able to automatically configure a connection, the system shows the web interface IP address at the bottom of the console setup menu.
If needed, you can reset the root password in the FreeCORE console setup menu or by clicking Settings > Change Password in the web interface.
To require logging in to the system before showing the system console menu, go to System > Advanced and unset Show Text Console without Password Prompt.
Configuring Web Interface Access
If the FreeCORE system is not connected to a network with a DHCP server, you can use the console network configuration menu to manually Configure Network Interfaces.
Figure 2: FreeCORE Console Menu
This example shows configuring a single interface, em0:
Enter an option from 1-12: 1
1) em0
Select an interface (q to quit): 1
Remove the current settings of this interface? (This causes a momentary disconnec
tion of the network.) (y/n) n
Configure interface for DHCP? (y/n) n
Configure IPv4? (y/n) y
Interface name:     (press enter, the name can be blank)
Several input formats are supported
Example 1 CIDR Notation:
    192.168.1.1/24
Example 2 IP and Netmask separate:
    IP: 192.168.1.1
    Netmask: 255.255.255.0, or /24 or 24
IPv4 Address: 192.168.1.108/24
Saving interface configuration: Ok
Configure IPv6? (y/n) n
Restarting network: ok

...

The web user interface is at
http://192.168.1.108
Depending on the network environment, review the Configure Default Route option to define your IPv4 or IPv6 default gateway.
Configure Static Routes allows adding destination network and gateway IP addresses, one for each route.
To change the DNS domain and add nameservers, select Configure DNS.
These settings can be adjusted later in the various Network options available in the web interface.
Logging In
On a computer that can access the same network as the FreeCORE system, enter the hostname and domain or IP address in a web browser to connect to the web interface.
Note
The quality of your user experience can be impacted by the browser that you use. We generally recommend using Firefox, Edge, or Chrome.
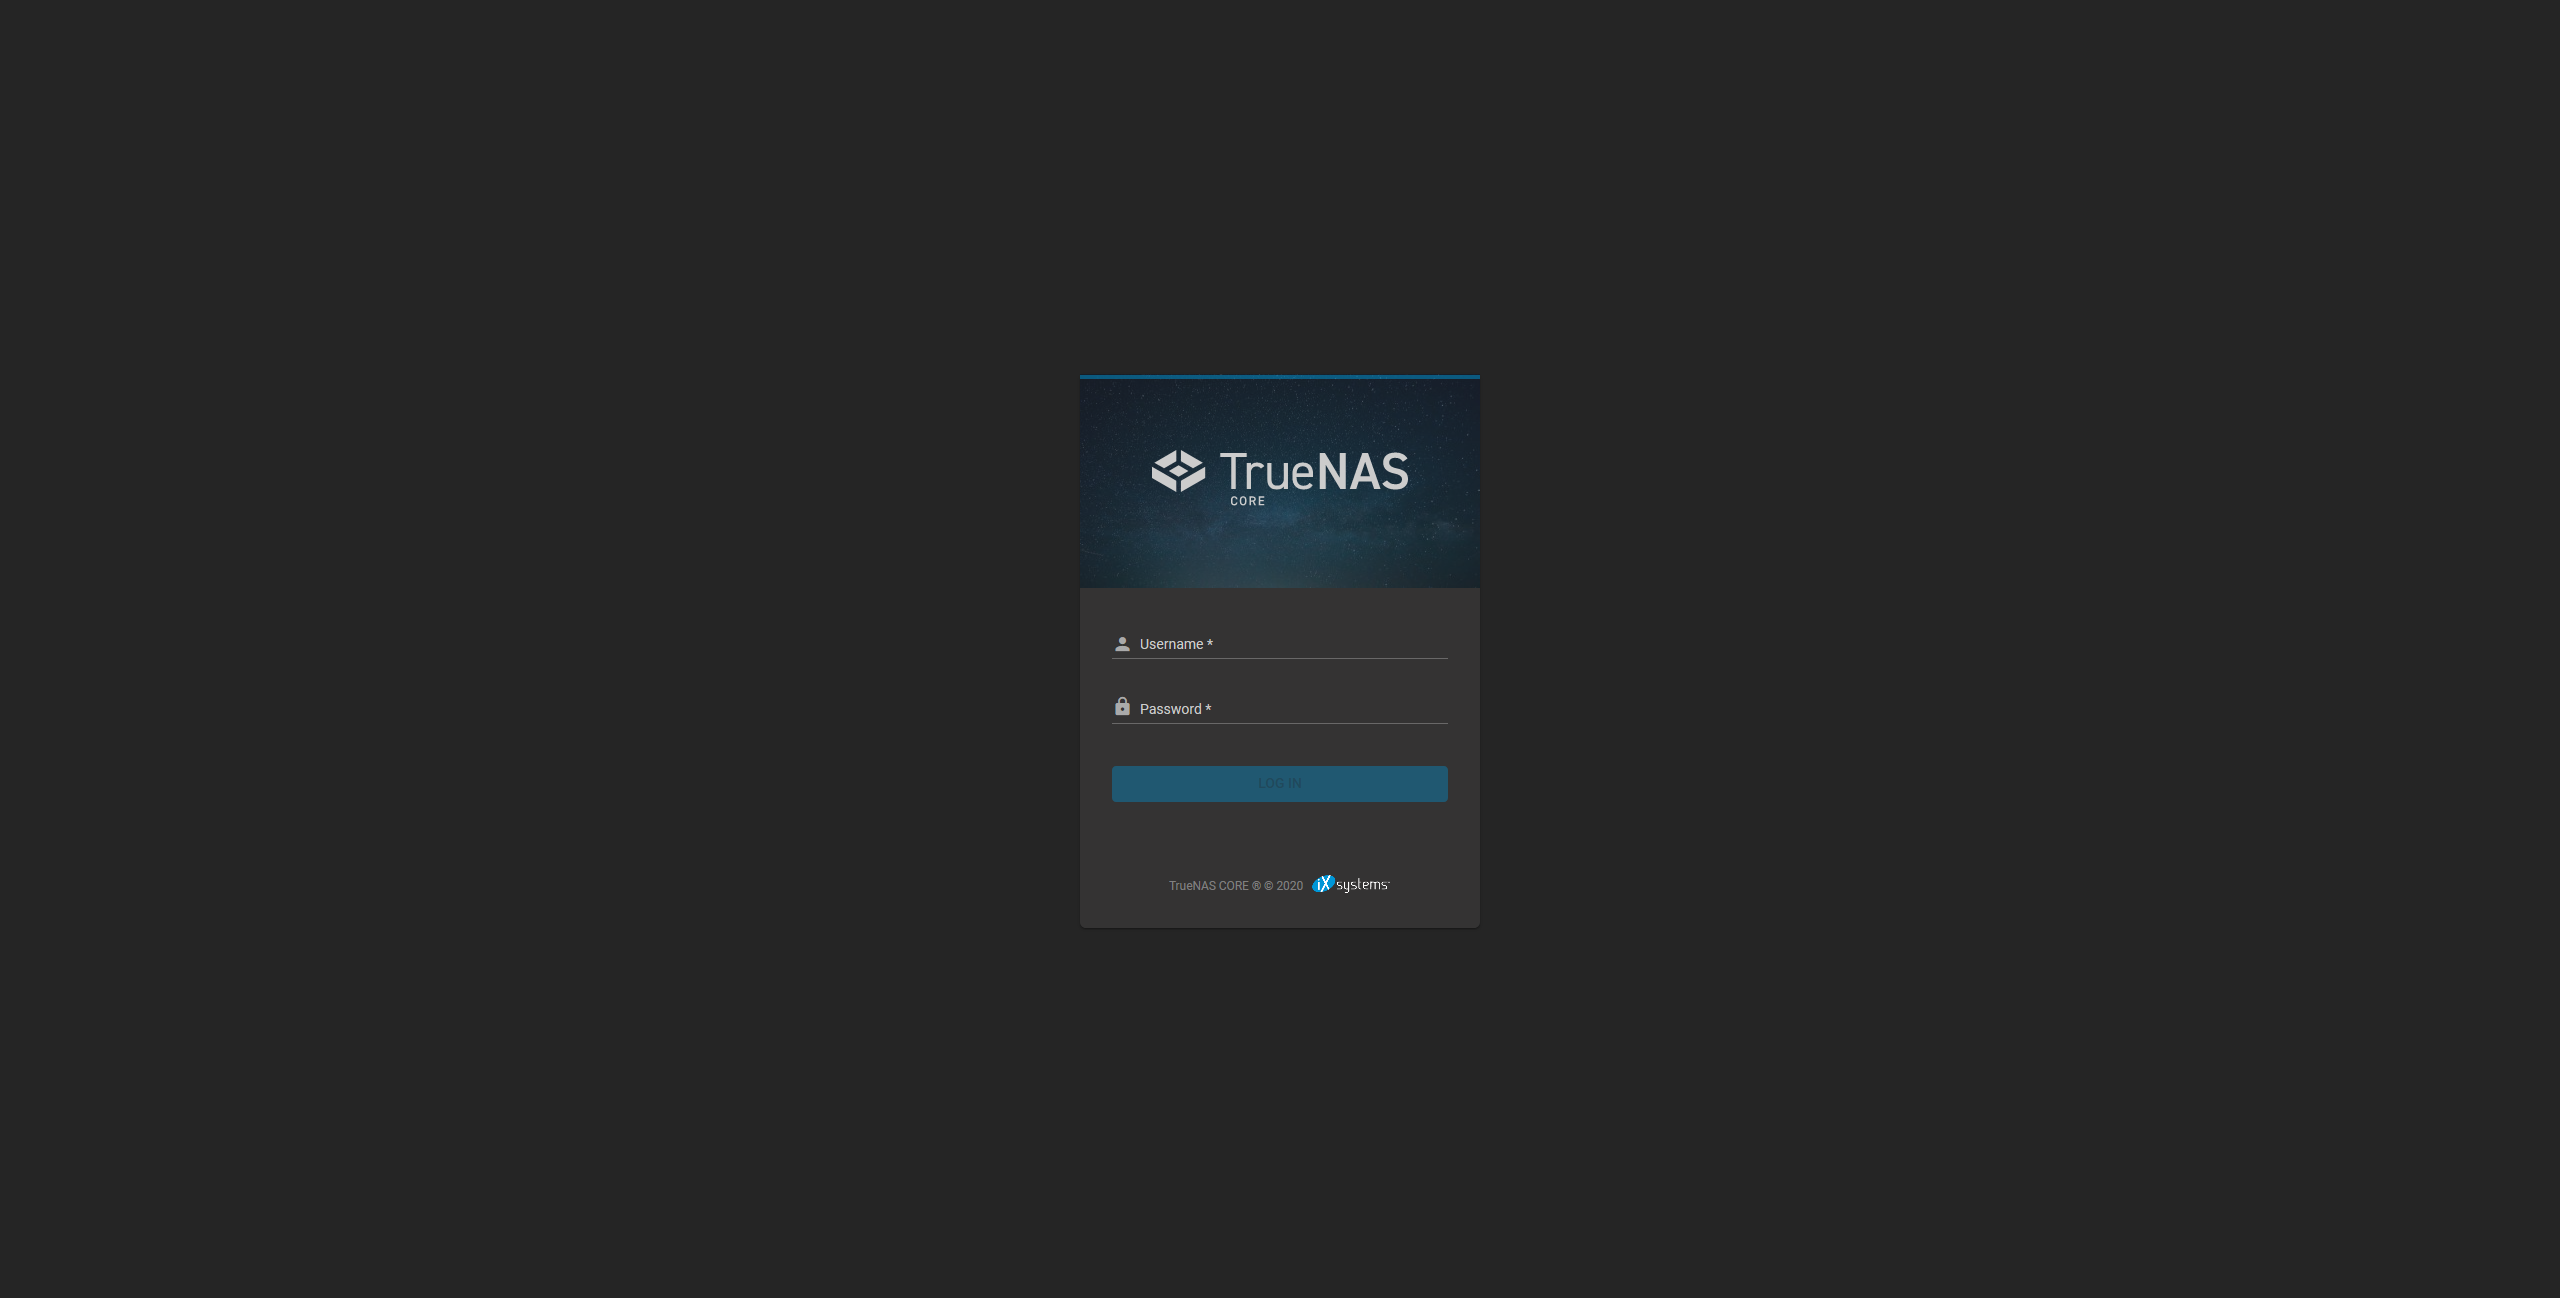
Figure 3: FreeCORE Login Screen
Enter the administrative account credentials to log in.
By default, the administrative account username is root and the password is set when installing FreeCORE.
Troubleshooting
If the user interface is not accessible by IP address from a browser, check these things:
Are proxy settings enabled in the browser configuration?
If so, disable the settings and try connecting again.
If the page does not load, make sure that a ping reaches the FreeCORE system IP address.
If the address is in a private IP address range, it is only accessible from within that private network.
If the web interface is shown but seems unresponsive or incomplete:
Make sure the browser allows cookies, Javascript, and custom fonts from the FreeCORE system.
Try a different browser. Firefox is recommended.
If the UI becomes unresponsive after an upgrade or other system operation, clear the site data and refresh the browser (Shift+F5).
After logging in, the FreeCORE web interface present options across the top and left side of the screen.
Top Menu
The horizontal menu at the top of the web interface contains status indicators, system alerts, UI theme options, and system power options.
Top Menu Details
Across the top row are links to outside resources and buttons to control the system.
Click the links above to jump to the sections with details on these top toolbar options.
Logos and Side Panel Controls
The logo in the upper-left corner shows the installed FreeCORE software.
Clicking the image takes you to the system Dashboard.
The next two buttons control how the side menu displays.
Click the round menu (menu icon) to hide or show the entire left side panel.
Click the baseline chevron left (chevron left icon) to collapse the left side panel to shortcut icons or expand to show icons and text.
Click the logo to open the project website in a new browser tab.
Status Icons
The remaining icons in the top menu show various statuses. They also provide system options.
Task Manager
The baseline assignment (clipboard icon) is the system Task Manager.
Click the icon to show a list of running or completed FreeCORE tasks.
Tasks are sortable by their success or error State, task Method, and Progress.
Typing text in the search Filter field shows tasks that match the characters typed into the field.
Clicking an entry shows more details about that task. This includes start and end timestamps.
Alerts
The bell solid (bell icon) contains system notification messages.
The icon changes to bell solid badged when FreeCORE creates a new alert.
Clicking the icon slides out a panel from the right side of the screen that lists each alert.
Dismiss or reopen alerts in this panel.
Dismissing an alert does not prevent it from recurring. FreeCORE might create a new alert if the alert conditions continue to exist on the system.
Configure the alert system in System > Alert Settings.
Settings
The gear (gear icon) contains links to various system specific options.
baseline dialpad Change Password is a shortcut for changing the administrator (root) account password.
Password required to log in to the FreeCORE web interface.
Back up or otherwise memorize the updated password when changing it.
outline settings applications Preferences contains theme and other visual options for the web interface:
Preferences Options
Name
Description
Choose Theme
Select a preferred theme from the dropdown list. There are several built-in themes designed for light and dark modes. High contrast viewing options of the web interface are also listed.
Prefer buttons with icons only
Select to preserve screen space using icons and tooltips instead of text labels.
Enable Password Toggle
Select to display an eye icon next to password fields. Clicking the icon reveals the password.
Reset Table Columns to Default
Select to reset all tables to display system default table columns.
Retro Logo
Select to revert branding back to FreeNAS.
Reset All Preferences to Default
Select to reset all user preferences to their default values. Preserves custom themes.
Update Preferences
Click to save changes to the General Preferences.
Click Create New Theme on this screen to create and manage custom themes.
baseline computer API Keys opens the API Keys screen where you can create or view API keys on the system. Click Add to create a new API key. Click Docs to open the API documentation for the current release.
information outline About opens the About dialog, which credits the project lineage and links to the documentation and project pages.
Power
The bell solid (power icon) has the options for changing the system state.
round exit to app Log Out exits the web interface and shows the login screen.
The system remains powered on.
baseline replay Restart initiates a power cycle.
The web interface closes. Discontinues power to the system which is then re-enabled.
The login screen appears when the boot cycle completes.
baseline power settings new Shut Down exits the web interface. The process to safely discontinue power to the system begins.
The system remains offline until the power situation corrects.
Side Menu
The column on the left side of the screen contains some information about the system and links to the various FreeCORE configuration screens.
The box at the top of the columns shows the current logged in user account and the system host name.
Configuration screens are organized by feature.
For example, to find options related to storing data, click the Storage option and to make data stored in FreeCORE available to client systems, go to the Sharing section.
Dashboard
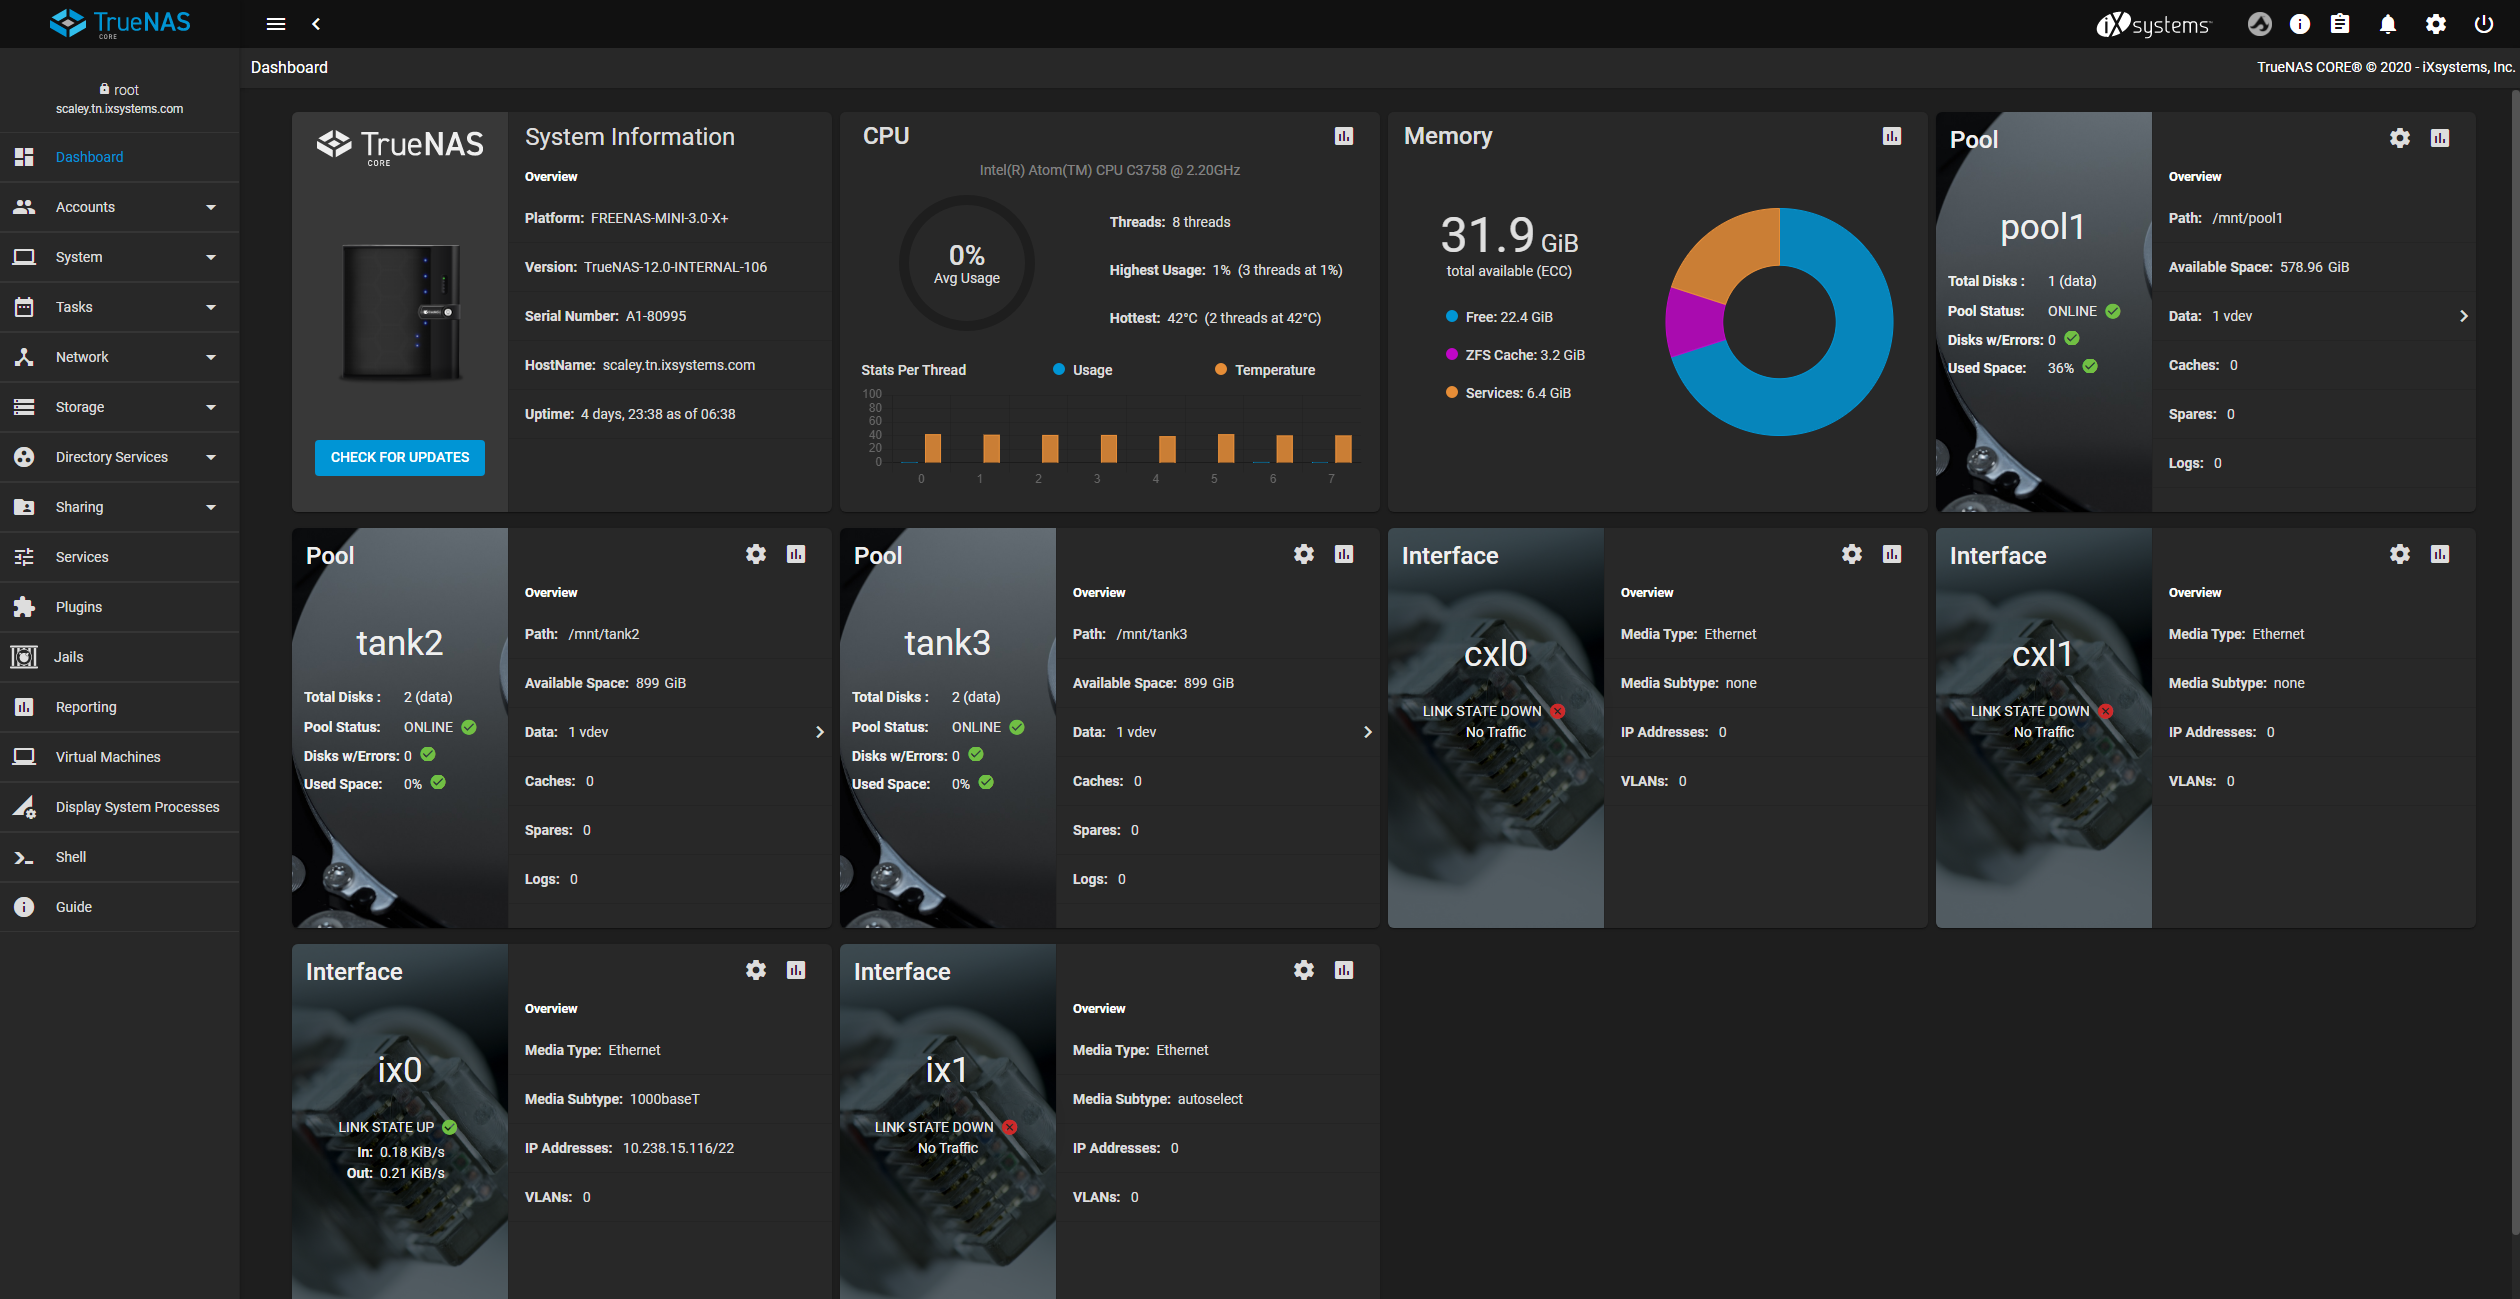
The system Dashboard is the default screen when logging in to FreeCORE.
Basic information about the installed version, systems component usage and network traffic are all presented on this screen.
Figure 4: FreeCORE Dashboard
The Dashboard provides access to all FreeCORE management options.
Now that you can access the FreeCORE web interface and see all the management options, it is time to begin storing data!